Clearing the Road to Bou Arada 11
January 1943
The History
On 11 January, a squadron of 2 Lothian & Border tanks was sent from Goubellat to clear the enemy from the area. Advancing on each side of the road, several of them got bogged down in thick mud created by torrential winter rain. 2LIR was ordered to protect the tanks while they were to be dug out of the mud. Two motor companies of 10 Rifle Brigade were involved and they headed south and then east to attack farms held by German units. They found the task impossible and were withdrawn after suffering five fatalities.
Battle
British are advancing and have first move. Heavy rain in recent days means that movement of road is in difficult terrain and vehicles can become bogged down if the leave the roads. The paratrooper of Herman Goering Jaeger Regiment are holding the farms to the East of the Bou Arada Road and preventing movement on the road. The 2 Lothian and Border Horse supported by 10 Rifle Regiment set out to clear the dug in German forces blocking the road. This attack was supported by 2 London Irish Rifles
Figure 1 https://www.irishbrigade.co.uk/wp-content/uploads/2017/02/A-practical-guide-to-the-Irish-Brigade-battlefields-in-the-Bou-Arada-area-10-Aug.pdf
Terrain
Figure 2 Google Maps
of the area today
Open field and occasional olive groves the plain is level
with a stream is a deep wadi flowing from a culvert on the road eastward, There
is a low but dominating hill in the North East. The farms are small with only
one or two colonial buildings surrounded
by largely open field a few to the west of the road have cactus hedges. These
are heavily waterlogged after days of heavy rain. A track beside the stream leads to the German reserves deployment area from the farm track
 |
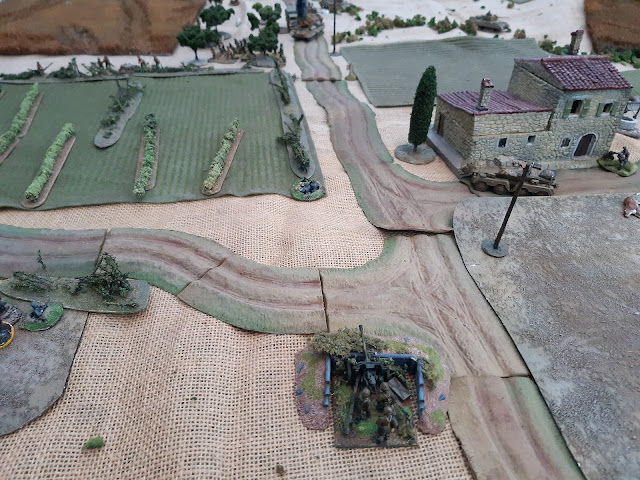
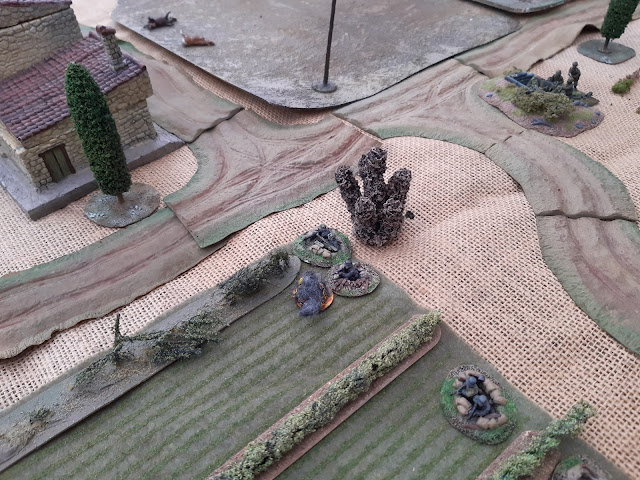
| Figure 3 A table map for the battle with deployment zones |

The Forces
British Forces 716pts 52BR Officers 6
From 10 Rifle Regiment and 2nd Lothian and Border Horse
1 Company HQ 10 Rifle Rgt FHQ 3 men Artillery Spotters in Jeep
1 Comms Relay team
3 platoons motor infantry consisting of
Motor Platoon Command 6 men
3 motor infantry sections 7 men with Bren
One platoon mounted in 1 light and 3 medium trucks
2 3" medium mortars
1 2" light mortar
1 Vickers Heavy Machine Gun
1 carrier section consisting of
1 carrier HQ team 3 men
1 carrier rifle team 3 men
1 carrier mortar team 3 men light mortar
1 Motor Infantry Foot Patrol 7 men
1 Royal Engineers 8 men with 2 Demo charges and Minesweeper
I battery of 2 25 pounder field guns off table
1 Counter Battery Fire Mission
1 squadron 2nd Lothian and Border
1 Valentine tank troop consisting of :
3 Valentine III tanks and 1 Valentine VIII tank
1 Recce Armoured Car Daimler Dingo
(Actual force consists of 15 Valantine Tanks and 2 companies of infantry)
German Forces 693 pts 45BR Officers 3
from Herman Goering Panzer Division Jaeger Regiment 1
1 Fallschirmjaeger Reconnaissance foot patrol 10
1 Sniper
Two platoons from Jaeger Regiment Herman Goring Panzer Division each of
3 Rifle sections 5 Veteran Fallschirmjaeger with AT grenades
3 MG teams of 3 Veteran Fallschirmjaeger with MG42
1 PaK 38 and 3 crew
1 MG 42 Heavy Machine gun
Defences
Fox holes sufficient for 10 men x3
1 AT Dug out
Reinforcements arrive from turn 5
2 Heavy Armoured Cars Sdkfz 233
1 Panzer Mk IV F2 (not recorded but add to the fun)
The Game
Deployment
German Initial defenders including all the defences and all units anywhere within a 12” radius of each of the two farms east of the Bou Arada road. They may place 1d6 units on ambush fire. British troops may deploy a probing force of all their reconnaissance forces
and four additional units. Historically
this was the tanks of Lothian and Border Horse but the British player may
choose his own force. The British probing force is placed within 24” of the road at the Northern board edge (the outskirts of Goullebat). Follow
British Forces arrive after turn 3 at 1d6 units per turn in the same place. The
German reinforcements arrive after turn 5 at 1d6 per turn anywhere within 24” of
the South East corner.
The German player places two objective east of the road .
The British player can place one objective anywhere outside there own deployment
area.
Special Rules
Road Block
Tanks which are immobilised or knocked out may be pushed off
the road if another tank or armoured vehicles attempts to pass the road block
is treated as dangerous ground if a 6 is rolled the follow tank also become
stuck. The first vehicle is then considered bogged off the role.
Quagmire
The ground off roads is extremely wet and any vehicle moving
off road is difficult terrain. If the roll for movement is a 6 the vehicle becomes
bogged down and immobilised. On a roll of a further roll for movement of a 6 the vehicle can become un-bogged
and continue it’s movement orders.
Weather
There are heavy rains and low cloud that ground all aircraft. Aircraft chits count as a 5 BR loss as weather makes air support impossible.
AAR
First the German player disposed his two platoons and support largely dug in around the two farm house east of the road with part of one platoon and the PaK 38 covering the minefield on the road. I would be playing the British attacking force. For the initial probe force I selected 2 Valentine tanks and half of 1 platoon to accompany the reconnaissance elements. The rest of the force would be evenly divided into two equal forces of 2 tanks and a platoon of motor infantry. With a mobile reserve of lorried infantry and a carrier section. The mobile force wold rush the objectives once the defenders where engaged by the other two forces.
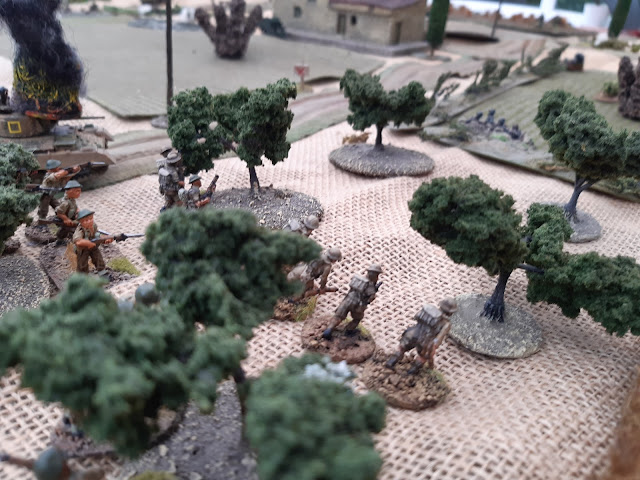
The foot patrol and the Valentines 's roll forward. The first British objective was the olive grove beside the road. The forward German defenders are dug in at the far end of the trees in foxhole under a cactus hedge. Fire is exchanged and the lead Valentine uses it's single co-axial machine gun to support whilst the section from 1 platoon take cover in the deep gulley marked on the tale by a line of bushes and scatter. This "nullah" provided hard cover for the infantry = which they sorely need as the MG 42 of the Fallschirmjaeger quickly pin them down.The Daimler Dingo is spoting the the off table 25 pounder battery that is the artillary support for this attack. The 1 platoon HQ is in the building behind they await the arrival of the rest of the platoon and there supporting mortars.
Observed for by the Dingo the British artillery ranges on the cross roads. with some deviations it will pound this area for the rest of the game. The Fallschirmjaeger are well dug in and hang on under the pounding. German mortars reply but 80mm mortar represent little threat to the tanks.
The rest of 1 platoon arrive heading up to reinforce the foot patrol pinned down in the olive grove German mortars range onto them as they advance. The German players suffered with efforts to call in his artillery even though it is well sited the British counter battery fire suppress the only successful comunicated artllery request. But the British have problems of there own with reserves arriving only slowly.


Comments
Post a Comment