 |
| Japanese defenders set up trench lines anchor the center, a pill box with AT guns out front covered by MG bunkers covering them. the furthest flank has a sniper on ambush fire (indicated by a puff of white smoke. |
 |
| The US marines deployment on the Japanese right flank, Lots of small varied teams with a dizzying variety of equipment and specialisms. The rail line is actually in a shallow ravine so we agreed a special rule that shooting in and out could only be done from with 5" of the line. |
 |
| An artillery's observation bunker with FAO team. There is another off table on Half moon hill. This bunker was the only thing I placed on the ridge apart from the cave mouth which I placed nearby on the reverse slope. The bulk of the defenders would be hidden here safe from US air and artillery's strikes. The Japanese artillery's fire was efficiently suppressed all game by big off shore naval guns firing in the counter battery role. . |

 |
| As the marines advanced they face LMG's and individual rifle men popping up from well camouflaged spider holes. I scattered they liberally over the right hand slope of the hill pinning and then picking of marines with snipers forcing morale checks and chit draws from the very high morale Marines. I was thinking of chit draws per table foot gained towards the objectives on the hill. |
 |
| looking down from the volcanic rock peak of Sugarloaf Hill - even the model spider holes on the right of the trenches. are hard to pick out. Several times I indicated to my opponent that fire was coming from a volcanic rock or simple bush! ... before correcting the model! |
 |
| Ja\panese infantry emerge from cave to bring the Marines in the trenches under fire.n BUt the boot is ion the other foot with the marines making use of the excellent cover |
 |
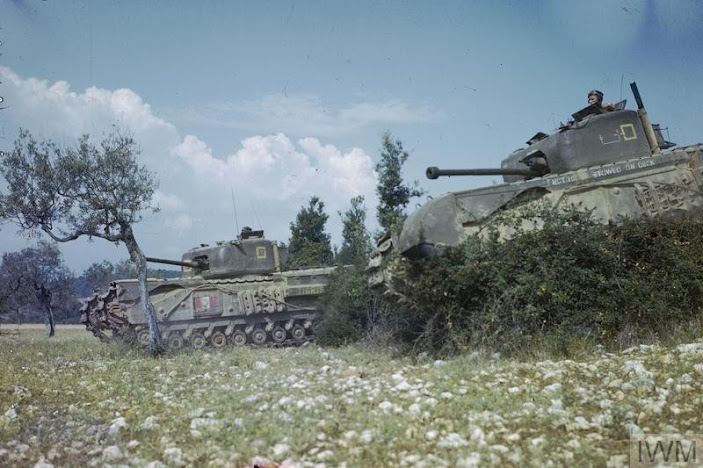
| US tank suppoprt arrives These shermans fed of lunge mines whilst they wait fro the infantry to clear the monefield ahead using the marines engineer special rule |
 |
| Infantry emerge from deep cover in the caves and rush to re enforce the summit of Sugarloaf hill |
 |
| Marine infantry reenforcements advance past thirty calibre machineguns which did an excellent job of supporting the infantry ahead |
 |
| A key M|g puill box ovcerrun by close assault the LST transported the infantry close enough to begin there assault. This open the way to the summit for the marines |
 |
| US air [power overwhelming (as usual) This bomb and strafing of the trench cleared the way fro the marines to capture the trench line. |
 |
| Slow progress on the right flank the spider holes and mg bunker on the rail line slowed progress but air support would clwear the way here as well. |
 |
| The camouflaged cave emplaced it was marked on a map before the game and the Japanese counter attack is underway. |
 |
| The peak of sugar loaf hill still occupied by defending infantry |
 | ||
This looked grim tbut pulling Banzai chit gave some hope. I was close to 25% of my battle rating as soon as I reach that requirement the US marines would know it.
|

 |
| Fine US marine BR total shows the terrible price they had payed fro there advance to two sides of Sugarloaf hill |
 |
| The reduction in BR caused by playing Banzai chit makes this total look alot better than it actually was . A close run thing but a Japanese tactical victory. |


No comments:
Post a Comment