

A Company size game
British Forces
from 2nd battalion Coldstream Guards
2 Sherman tank troops
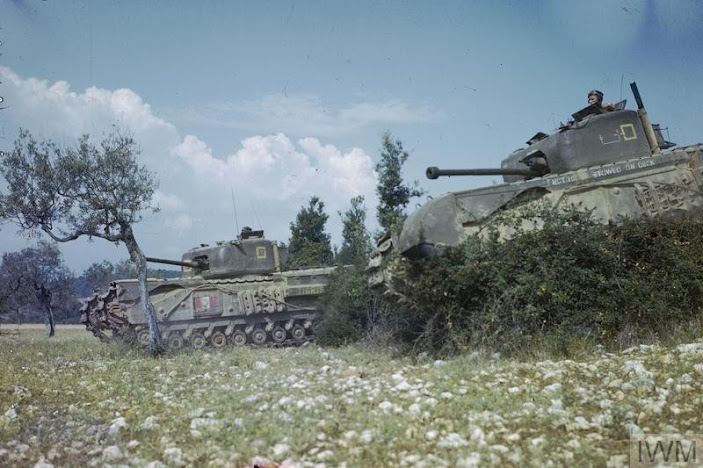
each with 3 M4A4 Sherman tanks and 1 M4 Sherman Firefly (I used Cromwell's in place of the Sherman's by agreement with my opponent)
1 Motor Rifle platoon
1 HQ section in M5 halftrack with PIAT team
3 Rifle sections in M5 halftrack
BR39 Officers 3
German Forces
from 1st Company 501st Heavy Tank battalion
3 Tiger II ( I used Tiger I for these by agreement)
1 Pz IV H
1 Grenadier squad with 1 Panzerfaust
1 MG42 squad
BR 21 Officers 0
The Battlefield - British deploy top right corner, Germans in bottom left corner.

Background
In disarray after the heavy bombardmant from the RAF 1st Company of 501st heavy tank battalion had spent the morning digging there vehicles out and repairing them by afternoon they where north of Emieville and ready to counterattack into the re-enforcements moving south in the wake of the British advance. As they broke cover the 2nd Battalion Coldstream Guard's engaged. Lt. Oemler engaged them as they entered the same field engaging the Heavy Tiger II's with there Firefly 17 pounder tanks. Knocking out several causing the rest to withdraw.
In the game any half tracks that get to the far board edge will be extra re enforcements in Game 4 Evening assault on Cagny. Two objectives where places outside the deployment zones. One by each player. This is an Attack/ Counter Atack scenario .
AAR
As this is a meeting engagement we rolled for first turn and Oemlers tanks won deploying from the far board cormer into the woodline begining with all three Tiger II.


The Firefly's continue to attract the Tigers attention as the other tanks mass for the dash towards the woods.
The Infantry platoon enters the board corner but hold back. The quick M5 haftracks can be across the board in a few turns once orders are available but I am using all my orders for the tanks as they close to the hedgeline I want them all in position before we rush the Tigers.


The Cromwells break cover and all firing HE for supression and crossing the hedge . The execution begins with 2 tanks knocked out immediately by the return fire.


The Firefly's cause a hit which bounce of - the failed morale check pins the Tiger. The remaining tanks push on firing to supress and moving forward. Another Cromwell is cut in half by the massive 88 guns on the Tigers II.
Unnoticed by the Germans the infantry in their halftracks race forward.


The dogfight continues as the Cromwell's lose another tank one tank gets past the King tiger and hits the side armour but fails the penetrate the side armour on the massive Panzer. Meanwhile the Tiger's prey (the Halftracks and infantry) is escaping to the south.


The Cromwell uses his last AP ammo to blast the Tiger from behing but misses.

The German infantry destroy the Cromwell tank with a Panzerfaust in the Germans last turn . As other tanks close in. The British Halftracks escape the board pushing on towards the high ground ahead.


With time running out we agree to end the game and compare BR totals to decide vistory the British have 20 BR reamaining the Germans only 18BR . A marginal British victory despite the many burning hulks littering the battlefield .

Wow! only in battlegroup can you lose that many tanks but still win. I think one of the great strengths of the game is the way the Break Rating system allows for asymmetric battle like this to work. Still no Tigers destroyed so Oemlers tanks will be back in the Assault on Frenouville!


No comments:
Post a Comment