Our epic Stalingrad game. I was grateful to be invited to take part in this epic Stalingrad battlegroip game with Warwick Kinrade and Andy Fox who supplied the fantastic terrain.
The german advance begins Soviet forward position can be seem in the building but there are alot of troops hidden or moving through tunnels across the board.
STuG Assault guns lead the German advance
This large church would become a blood bath changing hands several times
This block of industrial housing the factory and railyard was the focus of my Naval infantry company.
The rail yard of yhis factory was the scenes of more bloody fighting. The red flag is hoist after the final German withdrawal.
T34 roam the streets - blocked here by a German road block improvised from a tram.
Soviet infantry emerge from a hidden basement to overwhelm the German HQ and aid station in the administrative district.
The aid station overwhelmed the Opal ambulance is destroyed.
The German HQ before they fled
A Panzer II takes on a T34 at close range
Soviet Naval infantry infiltrate through a ruin
German pioneers take up position in a ruined factory Hall. Mortar pit behind
Soviet defenders move up to attack through a ruined factory Hall. Most of my Naval infantry advance this way.
Workers militia hold a position in the factory. These auxiliaries where just on the defensive all game to delay any German attack.
More infantry advance I added a platoon at a time trying to grind up the Germans through attrition
A dug in T34 covers the road. It took alit of artillery fire before being knocked out. From here it used its cannon and machine guns to support a spoiling attack into the factory railyard directly ahead.
German Sturminfantriegeschutz 33B ausf B assault gun put and end to the Soviet advance in the railyard as the Pioneers counterattack.
The company HQ in the office of a factory calling in mortar fire toward the railyard.
A mobile T34 counter attacks near the square
Navel infantry counter attack ... more delaying tactics
The Naval infantry in the rail Yard building would take terrible punishment from the 150mm gun on the 33B. German infantry setting up HMG can be seen in the building at the top.
Naval infantry pinned down . Trying to get Soviet engineers close enough to engage the 33B assault gun. And failing,!
A German assault gun pinned by harassing artillary fire from across the Volga. I had alot of low caliber artillery firing harassing barrages to impede the German movements. This one caught a StuG ausf E and pinned it.
Another dug in T34 with a field of fire across a square. Infantry from both side instead infiltrated through the shops and buildings. A fierce fight developed as the Germans attempted to close assault this dug in tank
Naval infantry take up position workers apartment. Pinned down by German mg fire firemost if the game. The HMG can be seen across the board.
Another section enter the front line to get pinned in there turn
Dug in T34 withstood many artillery bombardments like this one
T34 awaiting a German rush. The white smoke indicates ambush fire.
The administrative centre apartments would see severe fighting as Soviet troop emerged from below ground behind the German front line.
German foxholes in a rail yard. The white puffs of smoke indicate ambush fire. This German flank has heavily gone over to the defensive with almost every unit on a reaction order. Future orders then went to support a fresh attack in the administrative district.
Worker militia squad. On ambush most on the game as the German assault here never came.
The beautiful factory with it workers militia on ambush fire. These auxiliary troops held the trenches whist the Naval Infantry attacked from here to the railyard. You may recognise it from the Stalingrad book!
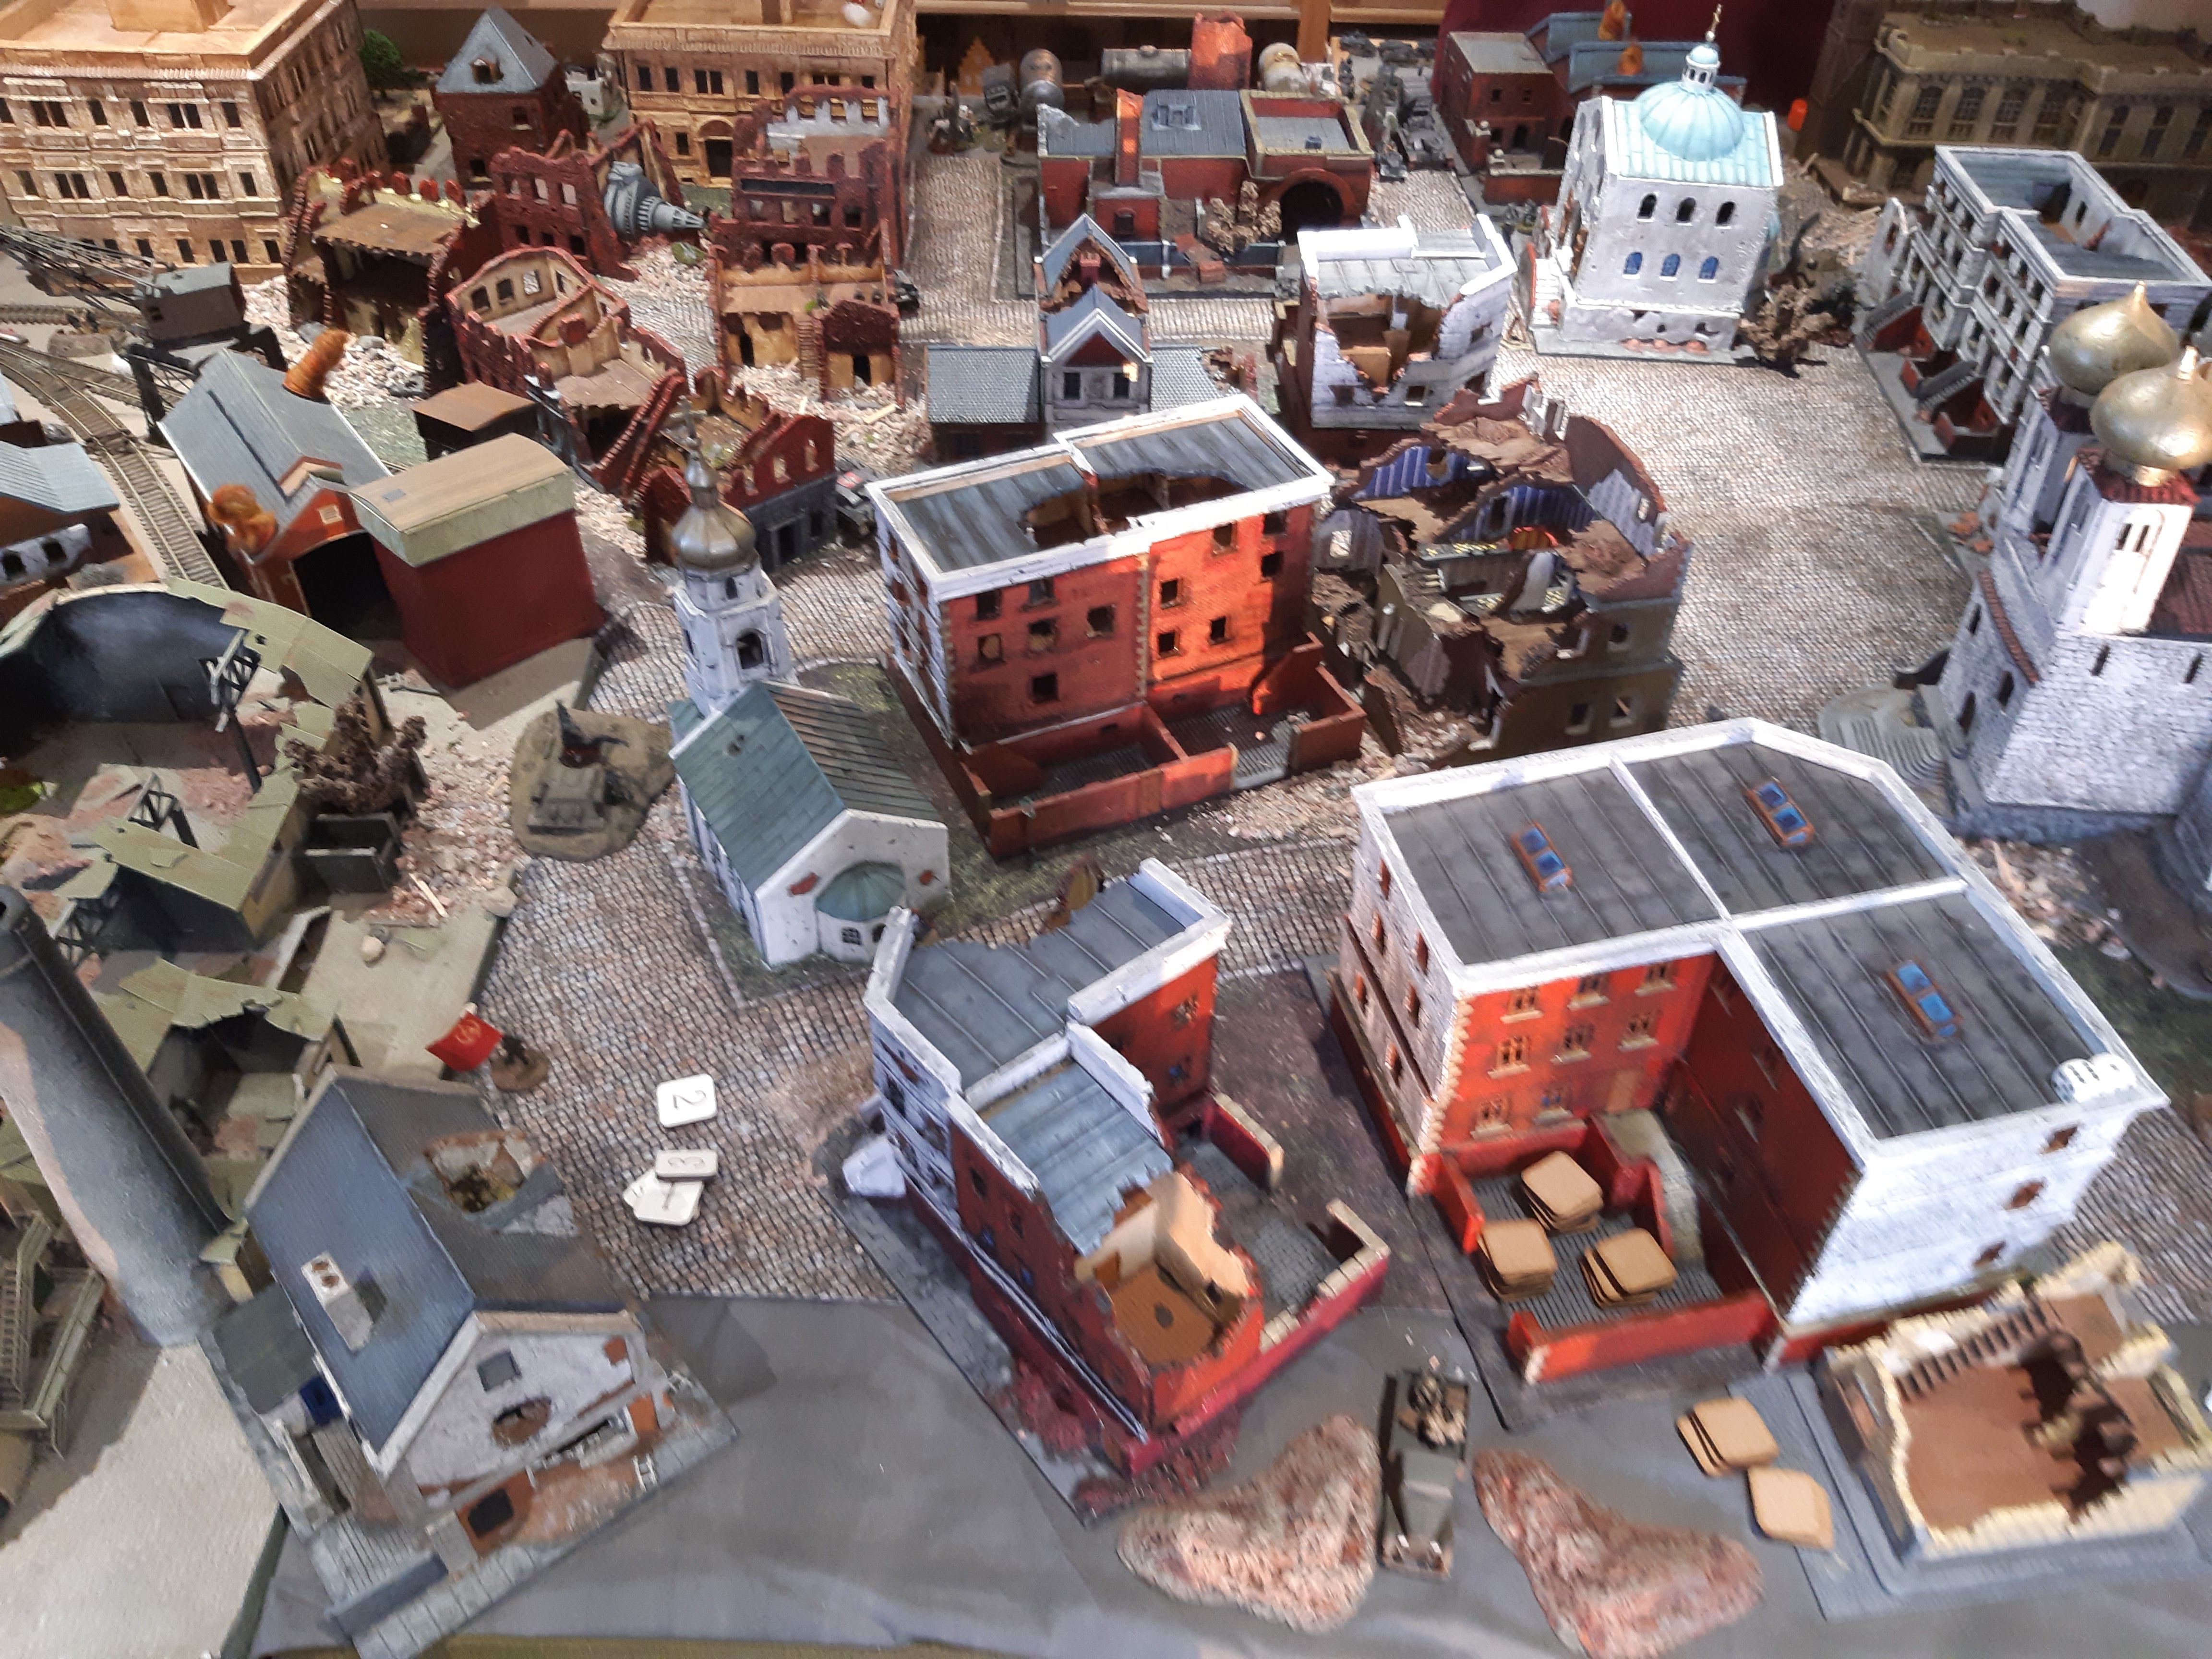
Magnificent terrain an entire city board with building mostly Itslieri and lots from Lancer miniatures. This section is factories and workers housing.
The final stage of play as the German attack ran out of steam
The final total for the Germans Stossgruppe above 78BR breaks the German force and Soviet defenders below lost of 67BR from total of 93 . None of the air attacks came to anything. The mine strike and breakdown chit came in useful to eventually KO the STuG 33B. Both kept the BR total down though.
Wow what a game! Great terrain and desperate struggle that felt like Stalingrad. The plan to pin and grind down the German troops with spoiling attacks and harassing artillery fire worked well. The use of hidden troops emerging from tunnels and hidden cellars meant that nowhere was safe from countercattacks for the Germans and kept them off balance throughout.


No comments:
Post a Comment