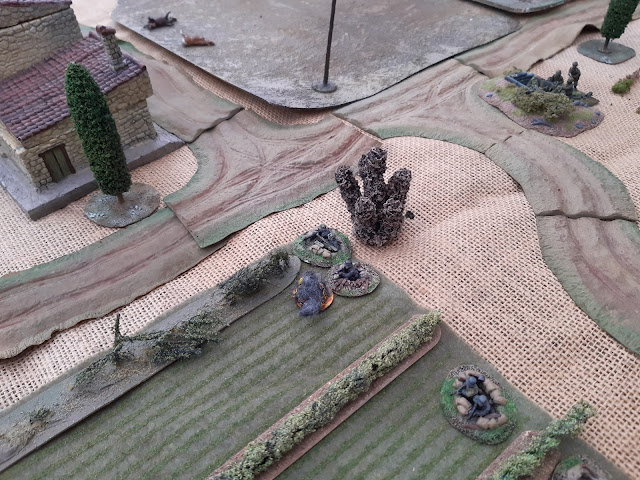
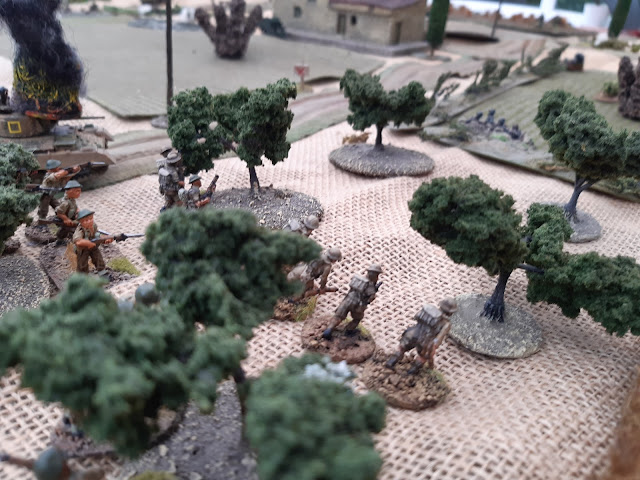
Saturday, 9 July 2022

AAR Stalingrad 42


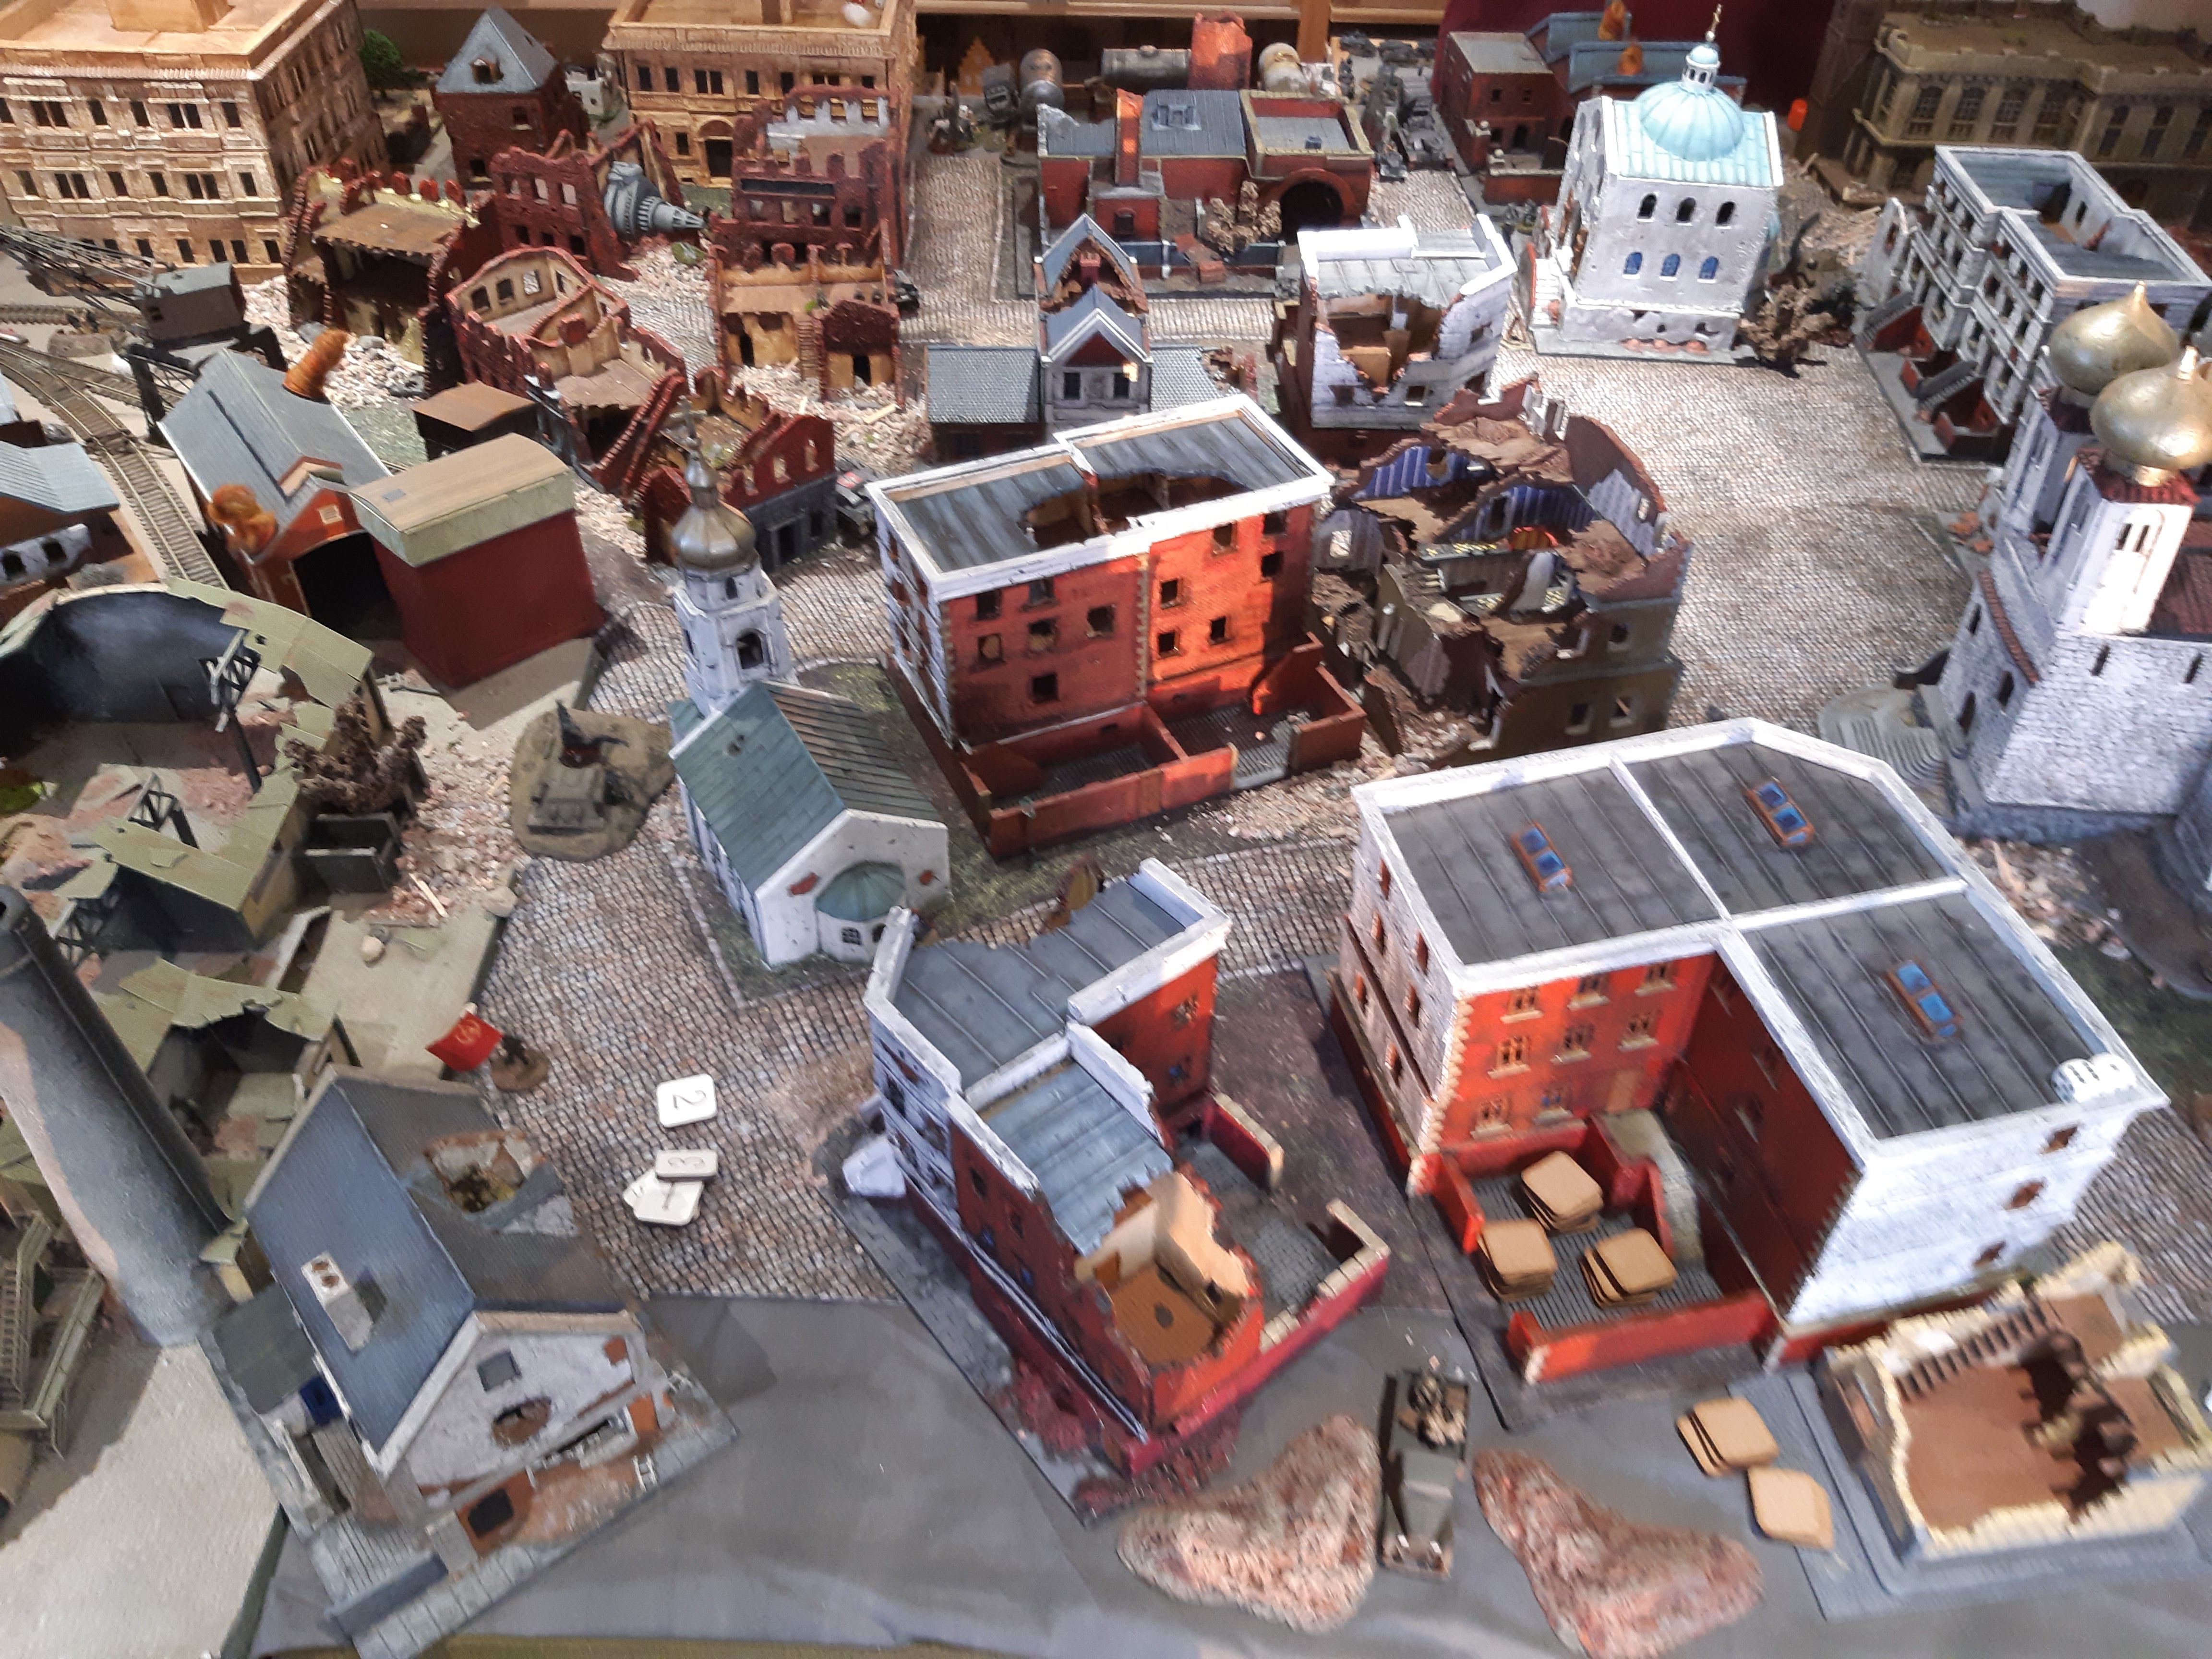
Our epic Stalingrad game. I was grateful to be invited to take part in this epic Stalingrad battlegroip game with Warwick Kinrade and Andy Fox who supplied the fantastic terrain. 

The german advance begins Soviet forward position can be seem in the building but there are alot of troops hidden or moving through tunnels across the board. 
STuG Assault guns lead the German advance
This large  church would become a blood bath changing hands several times
This block of industrial housing the factory and railyard was the focus of my Naval infantry company.

The rail yard of yhis factory was the scenes of more bloody fighting. The red flag is hoist after the final German withdrawal. 
T34 roam the streets - blocked here by a German road block improvised from a tram.
Soviet infantry emerge from a hidden basement to overwhelm the German HQ and aid station in the administrative district.
The aid station overwhelmed the Opal ambulance is destroyed. 
The German HQ before they fled
A Panzer II takes on a T34 at close range
Soviet Naval infantry infiltrate through a ruin
German pioneers take up position  in a ruined factory Hall. Mortar pit behind
Soviet defenders move up to attack through a ruined factory Hall. Most of my Naval infantry advance this way. 
Workers militia hold a position in the factory.  These auxiliaries where just on the defensive all game to delay any German attack. 
More infantry advance I added a platoon  at a time trying to grind up the Germans through attrition
A dug in T34 covers the road. It took alit of artillery fire before being knocked out.  From here it used its cannon and machine guns to support a spoiling attack into the factory railyard directly ahead.

German Sturminfantriegeschutz 33B ausf B assault gun put and end to the Soviet advance in the railyard as the Pioneers counterattack. 
The company HQ in the office of a factory calling in mortar fire toward the railyard.
A mobile T34 counter attacks near the square
Navel infantry counter attack ... more delaying tactics
The Naval infantry in the rail Yard building would take terrible punishment from the 150mm gun on the 33B. German infantry setting up HMG can be seen in the building at the top. 
Naval  infantry pinned down . Trying to get Soviet engineers close enough to engage the 33B assault gun. And failing,! 
A German assault gun pinned by harassing artillary fire from across the Volga. I had alot of low caliber artillery firing harassing barrages to impede the German movements. This one caught a StuG ausf E  and pinned it. 
Another dug in T34 with a field of fire across a square. Infantry from both side instead infiltrated through the shops and buildings. A fierce fight developed as the Germans attempted to close assault this dug in tank 
Naval infantry take up position workers apartment. Pinned down by German mg fire firemost if the game. The HMG can be seen across the board. 
Another section enter the front line to get pinned in there turn 
Dug in T34 withstood many artillery bombardments like this one
T34 awaiting a German rush. The white smoke indicates ambush fire.
The administrative centre apartments would see severe fighting as Soviet troop emerged from below ground behind the German front line. 
German foxholes in a rail yard. The white puffs of smoke indicate ambush fire. This German flank has heavily gone over to the defensive with almost every unit on a reaction order. Future orders then went to support a fresh attack in the administrative district. 
Worker militia squad. On ambush most on the game as the German assault here never came. 
The beautiful factory with it workers militia on ambush fire. These auxiliary troops held the trenches whist the Naval Infantry attacked from here to the railyard.  You may recognise it from the Stalingrad book!
Magnificent terrain an entire city board with building mostly Itslieri and lots from Lancer miniatures. This section  is factories and workers housing. 
The final stage of play as the German attack ran out of steam 
The final total for the Germans Stossgruppe above 78BR breaks the German force and  Soviet defenders below lost of 67BR from total of 93 . None of the air attacks came to anything. The mine strike and breakdown chit came in useful to eventually KO the STuG 33B. Both kept the BR total down though. 

Wow what a game! Great terrain and desperate struggle that felt like Stalingrad. The plan to pin and grind down the German troops with spoiling attacks and harassing artillery fire worked well. The use of hidden troops emerging from tunnels and hidden cellars meant that nowhere was safe from countercattacks for the Germans and kept them off balance throughout. 
On the workbench - Elephant transports column for Type 98 320mm mortar Burma '44

The Mardav 3d printed 320mm  mortar set up and crew. The piled rifles is a nice touch. 
Another angle. The the base is built in in this option of the mortar. The crew painted separately and  added afterwards.
A transport elephant with improvised mortar rounds and asorteded stowage from EWM. The elephant is by HAT industries. A pack saddle scratch built by using match sticks and miniature carpentry. 
This is the uploaded elephant tow. The harness was scratch built out of waxed thread and some chain from model railway supplier.
The mortar under tow. I didn't want to cut off the mortarxshell so decided it was just rushed into position and added a couple of spare crew. Attached chains to the mortar and a wooden sledge from matchsticks.
Elephants and mahout from HaT with some chain and rope harness for the elephants added. The Japanese artillery men from Mardav  miniatures. 

Tuesday, 8 February 2022

Scenario and AAR Silchar Bridge Imphal 14 April 1944


Silchar Bridge Imphal 14/15th April 1944

The History


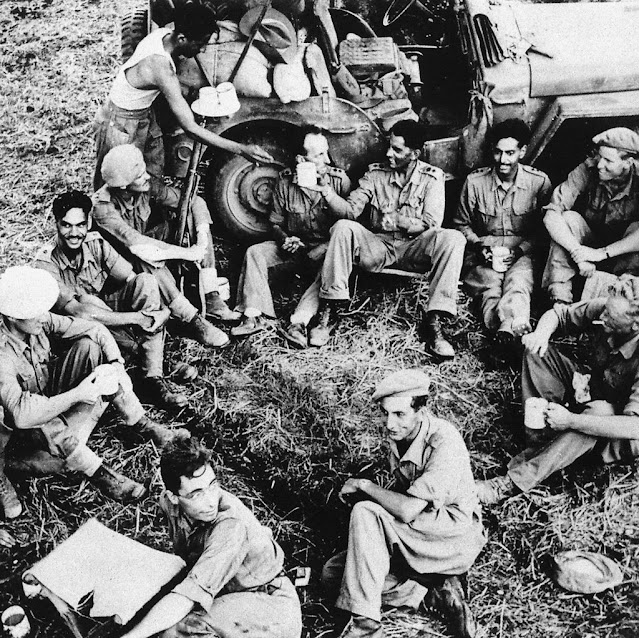
Officers and Men of 7/10th Baluch Regiment Burma 1945

General Yanagida of 33 Division before leaving Singgel “ordered Colonel Sasahara to send a raiding party to destroy the suspension bridge on the Silchar track at milestone 51 from Imphal (34 from Bishenpur). The Japanese believed this track could form an alternative supply route for the British when the Dimapur-Imphal road was cut. A party of six infantrymen, four sappers and seventeen Jiffs, commanded by Lieutenant Abe, set off across the hills on 28 March for this raid….

…While these moves were taking place the raiding party which Colonel Sasahara had dispatched from Singgel to cut the Silchar track was nearing its destination. However, while resting in a village about five miles south of its target, the bridge at milestone 51, it was surprised by a patrol of the 7/10th Baluch (two companies of whom were under command of 32 Brigade) and lost several men killed. Despite this sharp setback the party reached its goal on the 13th and watched many jeeps cross the bridge. The next day they reconnoitred the bridge and made their plan. It was a big suspension bridge capable of taking light vehicles and with a 330 foot clear span across a gorge about 80 feet deep. There were sharp turns on to the bridge at each end. An Indian Field Company was working on the track and guarding the bridge at night. Their task wasn’t an easy one.

Accounts of what happened that night differ. About midnight on the 14th/15th the Japanese seem to have created a diversion on one bank and, under cover of this. Sergeant Saito and three sappers slipped unseen onto the bridge from the other side. Charges were laid on each of the cables and at 0300 both charges were fired simultaneously, the bridge falling into the river. According to Japanese accounts one Japanese sapper jumped to his death and two were killed in the explosion. Nevertheless, it was a very successful and daring exploit and was duly acclaimed as such on Tokyo Radio. The bridge was not repaired and open to traffic again until the 10th of June, by which time it was irrelevant. For the British, who knew that only a trickle of supplies could come this way, this was a relatively minor set-back and by no means as serious as the Japanese supposed. The Japanese, however, thought that to cut this track was essential to complete their encirclement.”

https://www.worldhistory.biz/sundries/15832-chapter-nine.html


Terrain

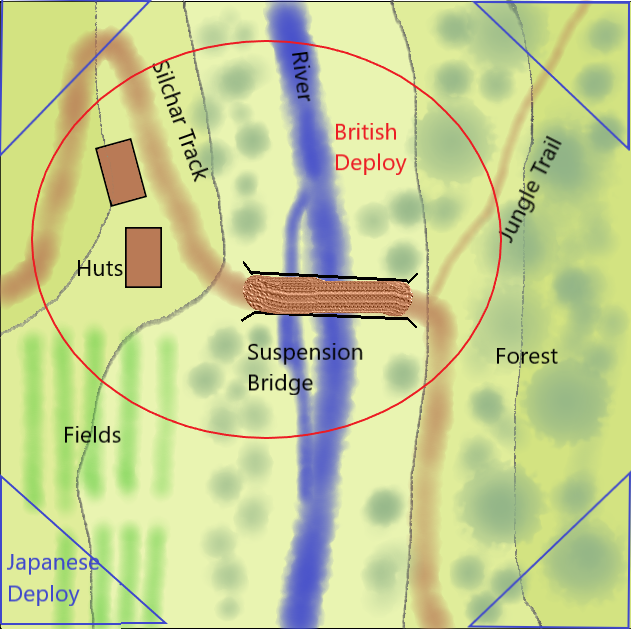
Leitanak River gorge Manipur India is a steep side gorge forested  on the east and with fields and trees as well as a few houses on the west and counts as difficult terrain off road. The Silchar track makes a sharp turn onto the bridge in both directions. The river is passable as dangerous terrain. A narrow track leads into the jungle North East. There are several jungle huts on the west bank they should provide only soft cover. The jungle and trees also provide soft cover. . The bunds around the field provide hard cover for troops behind them

Forces

British Empire Force

1 Indian platoon from 7/10 Baluch

1 Tiger team 3 men with rifles 

1 platoon command  6 men with rifles including Officer 

2 rifle sections 9 men with rifles 

 1 Bren section 5 men with 3 Bren guns  


1 Indian Field work platoons (Auxillary) platoons

1 Platoon command 5 men with rifles

3 sections 9 men with rifles 

Defenses

1 set of foxholes for 10 men


Imperial Japanese Forces

1 IJA Command veterans Lt. Abe with 6 men including Officer 

1 IJA Sapper Veterans Sgt Sinto and 4 men engineers  with demolition charges 

1 INA Platoon (reduced) 17 men

1 Tiger recon section 

1 Platoon command 6 men 

2 sections 9 men with rifles 

1 Bren section 6 men with 3 Bren guns 


The Battle

The Japanese player divides his force into upto 4 divisions (he may use less if he chooses)and secretly decides which deployment zone to assign to which force. The British Indian forces then deploy all there forces on the table in the area of the village and bridge. The British empire force may deploy there defences  The remainder of the Forces can enter from either road south or north after turn 3.  The Japanese forces  arrive from turn 1 in the Japanese players deployment area of choice on a role of 1-3 on a 4-6 the division is delayed and does not arrive yet, It may role again next turn. 


Special Rules

Bakugō sa seru! – (Detonate!)

Any Japanese sapper who has been on or in contact with the bridge by attempt to demolish the bridge by being given  the Engineering task Special order. Any Japanese Sapper who has the Banzai rule in effect may attempt to demolish the bridge by moving into contact with it. If the bridge is destroyed the British Imperial forces must take 2 Battle rating counters immediately.  For each failed attempt to detroy the bridge the Japanese Imperial player must take a Battle Rating counter.

Night battle –

All aircraft chits count as 5. There is no close air support available during the night.

Supressing fire is unaffected but Aimed fire has a maximum range of 20”

No spotted indirect fire all fire support must use a Pre-registered Target or timed barrage

Monday, 7 February 2022

Scenario and AAR Clearing the Road to Bou Arada 11 January 1943


Clearing the Road to Bou Arada  11 January 1943

The History


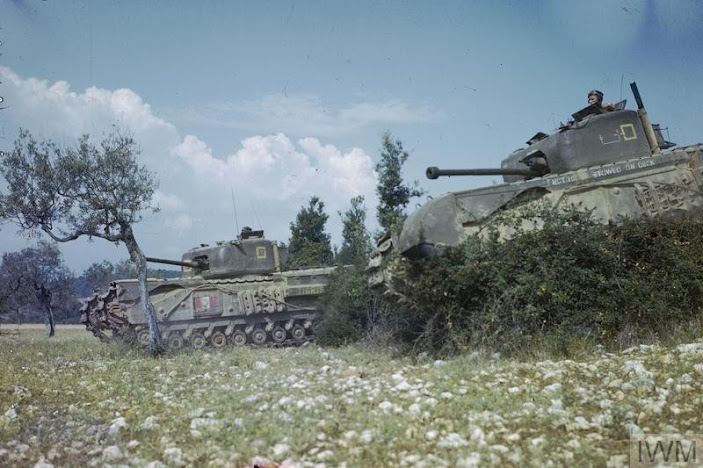
On 11 January, a squadron of 2 Lothian & Border tanks was sent from Goubellat to clear the enemy from the area. Advancing on each side of the road, several of them got bogged down in thick mud created by torrential winter rain. 2LIR was ordered to protect the tanks while they were to be dug out of the mud. Two motor companies of 10 Rifle Brigade were involved and they headed south and then east to attack farms held by German units. They found the task impossible and were withdrawn after suffering five fatalities.


Battle

British are advancing and have first move. Heavy rain in recent days means that movement of road is in difficult terrain and vehicles can become bogged down if the leave the roads. The paratrooper of Herman Goering Jaeger Regiment are holding the farms to the East of the Bou Arada Road and preventing movement on the road. The  2 Lothian and Border Horse supported by 10 Rifle Regiment set out to clear the dug in German forces blocking the road. This attack was supported by 2 London Irish Rifles 


Figure 1 https://www.irishbrigade.co.uk/wp-content/uploads/2017/02/A-practical-guide-to-the-Irish-Brigade-battlefields-in-the-Bou-Arada-area-10-Aug.pdf

 Terrain


Figure 2 Google Maps of the area today

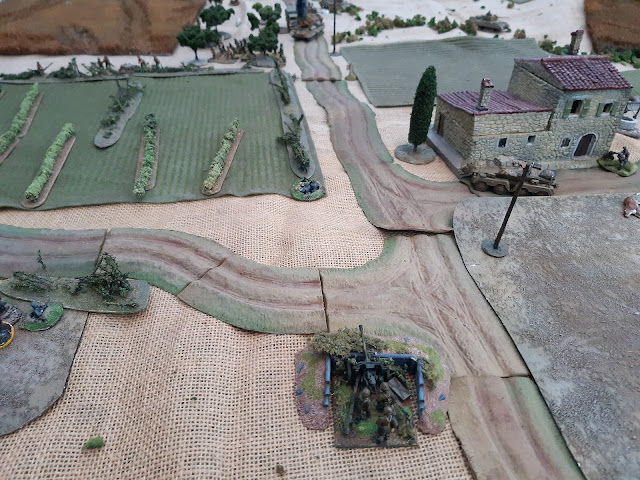
Open field and occasional olive groves the plain is level with a stream is a deep wadi flowing from a culvert on the road eastward, There is a low but dominating hill in the North East. The farms are small with only one or two  colonial buildings surrounded by largely open field a few to the west of the road have cactus hedges. These are heavily waterlogged after days of heavy rain. A track beside the stream leads to the German reserves deployment area from the farm track

Figure 3 A table map for the battle  with deployment zones 


The Forces

British Forces   716pts     52BR  Officers 6

From 10 Rifle Regiment and 2nd Lothian and Border Horse

1 Company HQ 10 Rifle Rgt FHQ 3 men Artillery Spotters in Jeep

1 Comms Relay team 

3 platoons motor infantry consisting of

Motor Platoon Command 6 men 

3 motor infantry sections 7 men with Bren 

One platoon mounted in 1 light and 3 medium trucks

2 3" medium mortars 

1 2" light mortar

1 Vickers Heavy Machine Gun 

1 carrier section consisting of

1 carrier HQ team 3 men

1 carrier rifle team 3 men

1 carrier mortar team 3 men light mortar

1 Motor Infantry Foot Patrol 7 men 

1 Royal Engineers 8 men with 2 Demo charges and Minesweeper

I battery of 2 25 pounder field guns  off table

1 Counter Battery Fire Mission 

1 squadron 2nd Lothian and Border

1 Valentine tank troop consisting of :

3 Valentine III tanks   and 1 Valentine VIII tank

1 Recce Armoured Car Daimler Dingo

(Actual force consists of 15 Valantine Tanks and 2 companies of infantry)

German Forces  693 pts     45BR   Officers 3

from Herman Goering Panzer Division Jaeger Regiment 1 

1 Fallschirmjaeger Reconnaissance foot patrol 10

1 Sniper  

Two platoons from Jaeger Regiment Herman Goring Panzer Division  each of 

Platoon HQ 

3 Rifle sections 5 Veteran Fallschirmjaeger with AT grenades

3 MG teams of  3 Veteran Fallschirmjaeger with MG42
 
1 PaK 38 and 3 crew


1 MG 42 Heavy Machine gun 

Defences

Fox holes sufficient for 10 men x3 

1 AT Dug out

2 Mortar pits  with 2 80mm mortars and crew

1 Minefield

Well Sited Artillery  1 x 1st priority request  2 x 2nd priority request 

1 Forward Observer Team with Kubelwagon 

Reinforcements arrive from turn 5

2 Heavy Armoured Cars Sdkfz 233

1 Panzer Mk IV F2  (not recorded but add to the fun) 


The Game

 Deployment

German Initial defenders including all the defences and all units anywhere within a 12” radius of each of the two farms east of the Bou Arada road.  They may place 1d6 units on ambush fire. British troops may deploy a probing force of all their reconnaissance forces and four additional units. Historically this was the tanks of Lothian and Border Horse but the British player may choose his own force. The British probing force is placed within 24” of the road at the Northern board edge (the outskirts of Goullebat). Follow British Forces arrive after turn 3 at 1d6 units per turn in the same place. The German reinforcements arrive after turn 5 at 1d6 per turn anywhere within 24” of the South East corner.

The German player places two objective east of the road . The British player can place one objective anywhere outside there own deployment area.

Special Rules

Road Block

Tanks which are immobilised or knocked out may be pushed off the road if another tank or armoured vehicles attempts to pass the road block is treated as dangerous ground if a 6 is rolled the follow tank also become stuck. The first vehicle is then considered bogged off the role.

Quagmire

The ground off roads is extremely wet and any vehicle moving off road is difficult terrain. If the roll for movement is a 6 the vehicle becomes bogged down and immobilised. On a roll of a further roll for movement of a 6 the vehicle can become un-bogged and continue it’s movement orders.

Weather

There are heavy rains and low cloud that ground all aircraft. Aircraft chits  count as  a 5 BR loss as weather makes air support impossible.

AAR

First the German player disposed his two platoons and support largely dug in around the two farm house east of the road with part of one platoon and the PaK 38 covering the minefield on the road.  I would be playing the British attacking force. For the initial probe force I selected 2 Valentine tanks and half of 1 platoon to accompany the reconnaissance elements. The rest of the force would be evenly divided into two equal forces of 2 tanks and a platoon of motor infantry. With a mobile reserve of lorried infantry and a carrier section. The mobile force wold rush the objectives once the defenders where engaged by the other two forces. 

The foot patrol and the Valentines 's roll forward. The first British objective was the olive grove beside the road. The forward German defenders are dug in at the far end of the trees in foxhole under a cactus hedge. Fire is exchanged and the lead Valentine uses it's single co-axial machine gun to support whilst the section from 1 platoon  take cover in the deep gulley marked on the tale by a line of bushes and scatter. This "nullah" provided hard cover for the infantry = which they sorely need as the MG 42 of the Fallschirmjaeger quickly pin them down.  
The Daimler Dingo is spoting the the off table 25 pounder battery that is the artillary support for this attack. The 1 platoon HQ is in the building behind they await the arrival of the rest of the platoon and there supporting mortars. 


Observed for by the Dingo the British artillery ranges on the cross roads. with some deviations it will pound this area for the rest of the game. The Fallschirmjaeger are well dug in and hang on under the pounding. German mortars reply but 80mm mortar represent little threat to the tanks. 
The rest of 1 platoon arrive heading up to reinforce the foot patrol pinned down in the olive grove German mortars range onto them as they advance. The German players suffered with efforts to call in his artillery even though it is well sited the British counter battery fire suppress the only successful comunicated artllery request. But the British have problems of there own with reserves arriving only slowly. 


Scenario and AAR Crete Campaign Turn 2 Battle 3 Vlakheronitissia

  Attack-Counter Attack at Vlakkheronitissia Campaign day 1 Turn 2 Meeting Engagement Attack / Counter attack  DUKE Forces Officer 1 BR17 Sc...